这第一篇博客,就讲讲这个站是怎么诞生的吧。
依赖
- git
- npm
- hexo
步骤
安装npm,执行代码并检查npm是否安装成功
12brew install nodenpm -v安装hexo,执行
1npm install hexo-cli -g -d去GitHub新建一个repository。具体步骤就不赘述了
新建好repo后,控制台cd到你希望放博客项目的地方执行
12git clone https://github.com/[username]/[repo-name]cd [repo-name]在当前文件夹初始化hexo
1hexo init安装依赖包
1npm install现在可以开启本地服务器测试一下
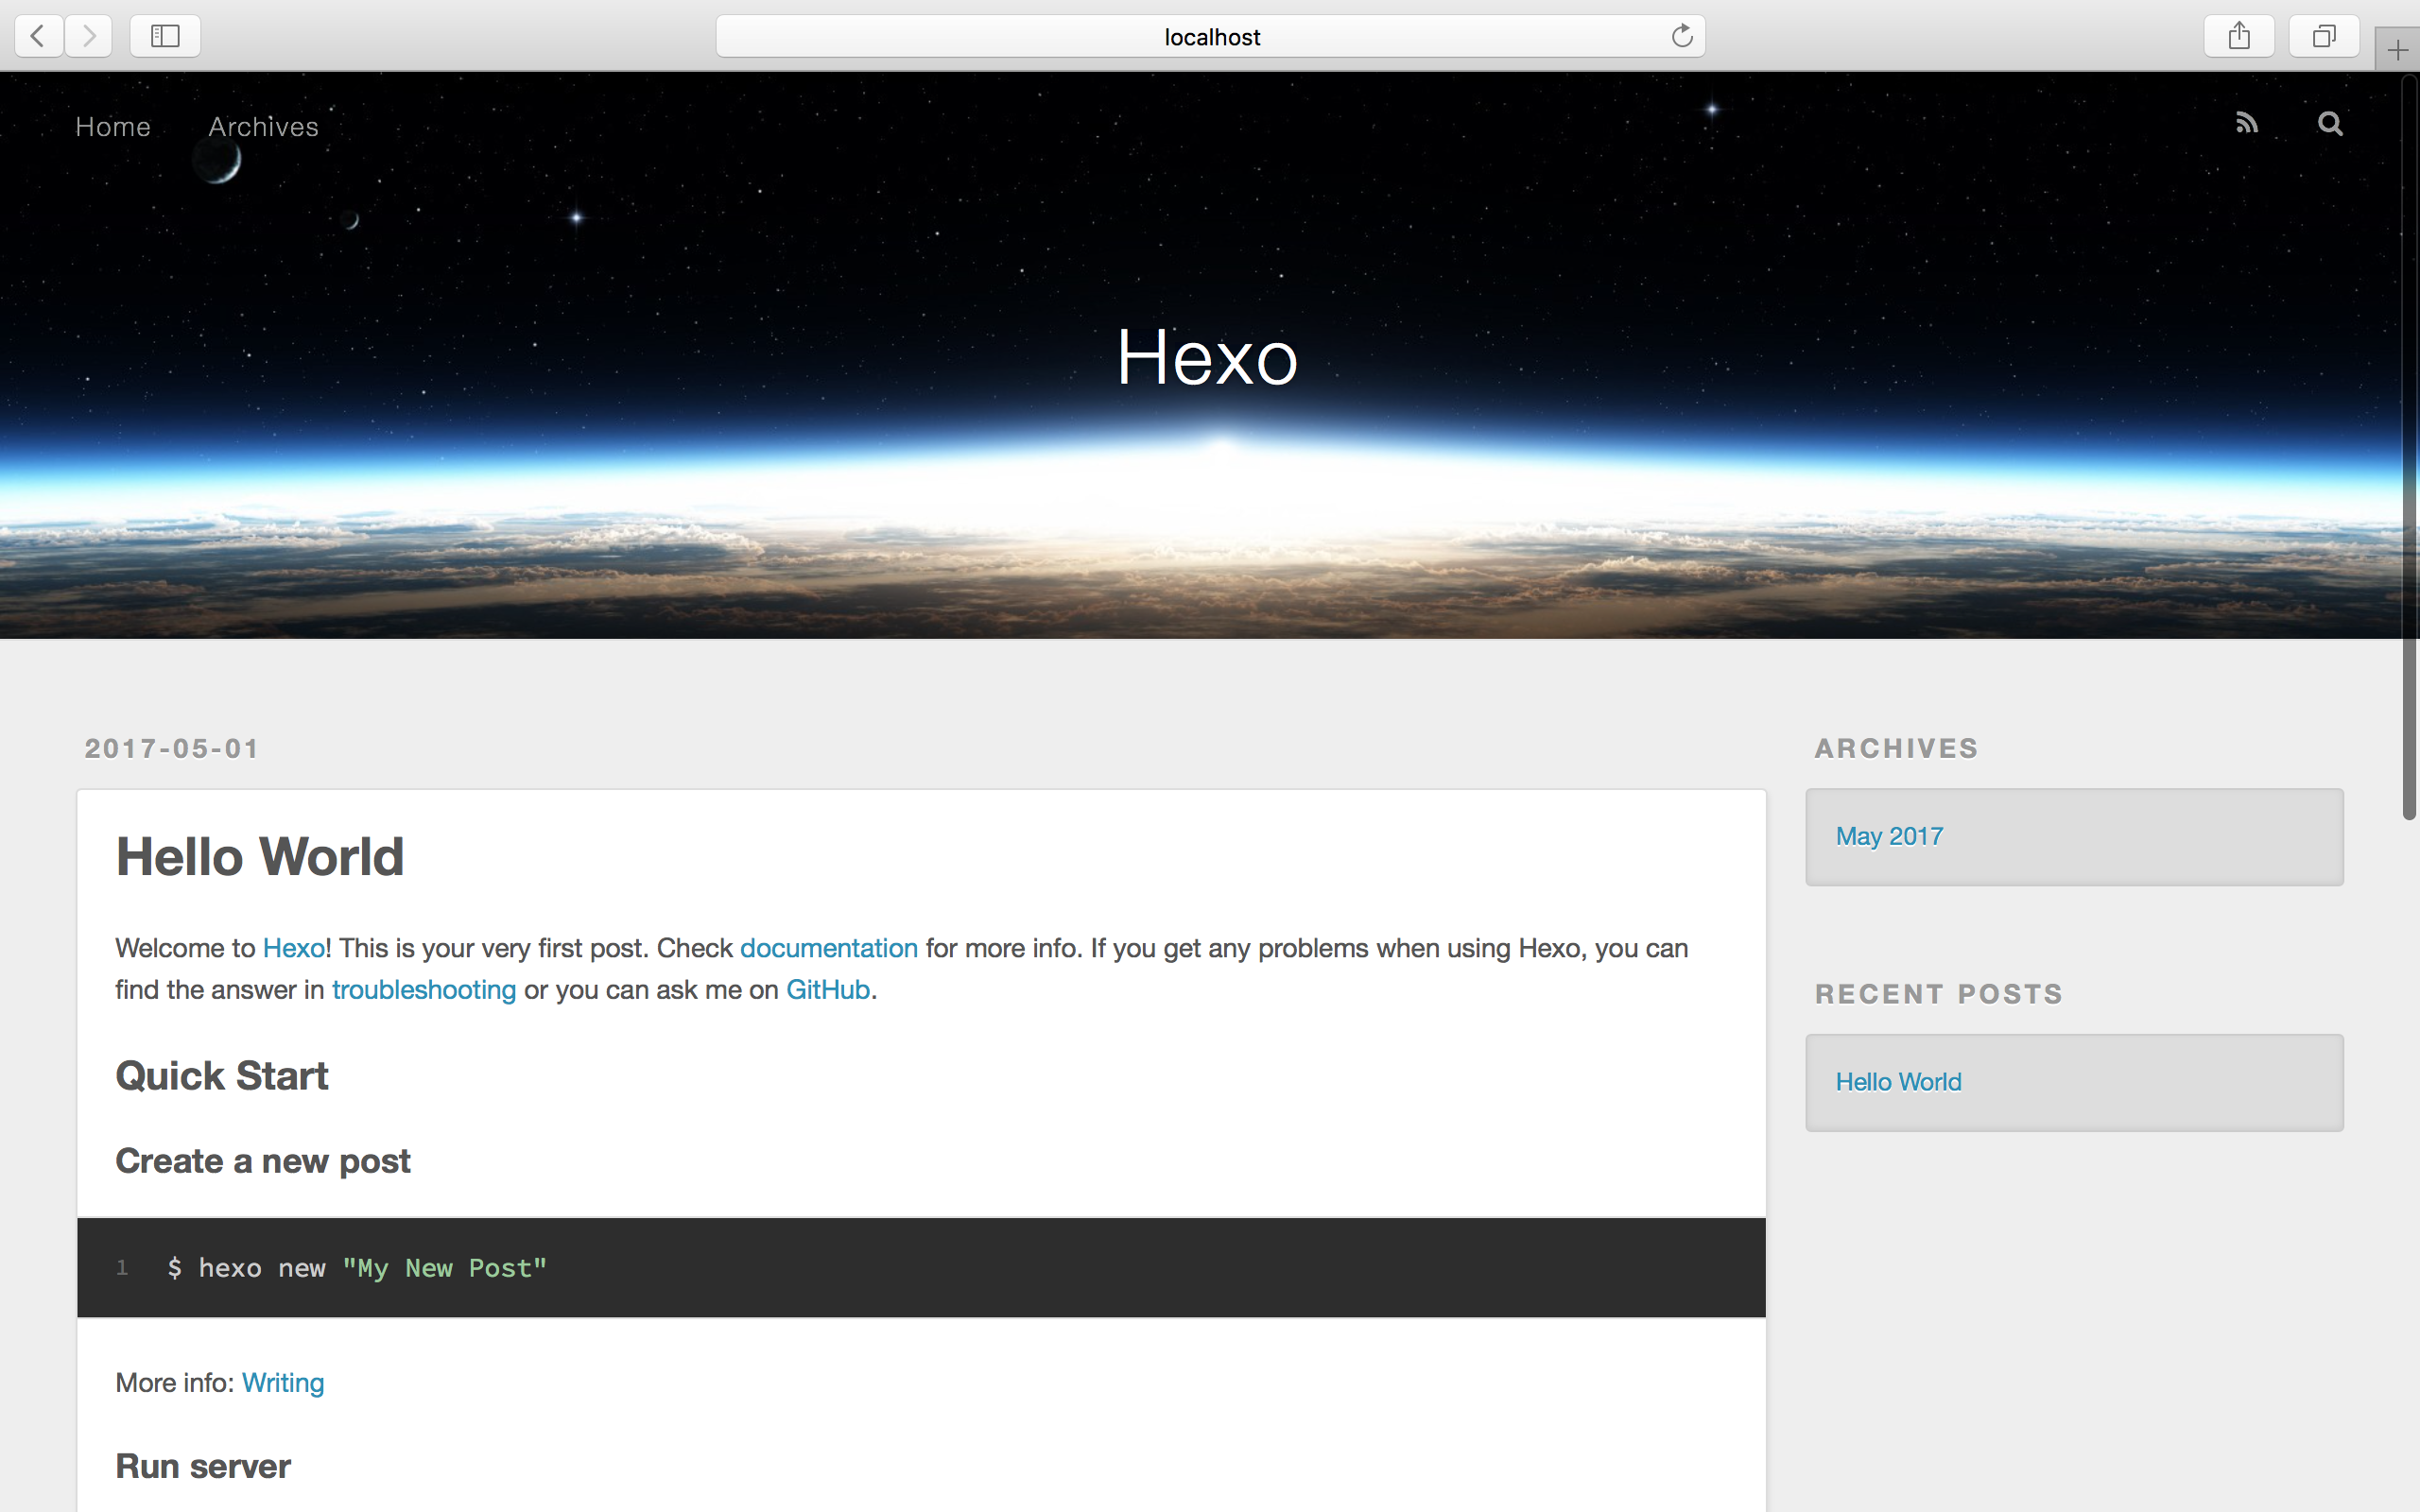
1hexo s用浏览器打开http://localhost:4000/ 查看页面
如果你看到了这样的页面,说明你已经成功了一半了

按ctrl+c可停止本地服务器
Make some magic
_config.yml
这个文件是用来配置你的博客站点的,注意这里使用yml语法,’:’之后要加空格,下面挑些来解释
12345678910111213141516171819202122232425262728293031# Sitetitle: Ja50n's B10g Sit3 #主标题subtitle: 学习笔记 & 吃吃吃 & 玩玩玩 #副标题description: 随便写写 #描述author: Jason Wood #作者language: zh-Hans #语言(与主题有关)timezone: Asia/Shanghai #时区# URLurl: https://jason2031.github.io #这里跟你的repo一致root: / #根目录permalink: :year/:month/:day/:title/ #文章链接格式# Directorysource_dir: source #源文件目录public_dir: public #生成文件目录# Writingnew_post_name: :title.md #默认标题(若新建博文时未指定标题则为这个)default_layout: post #默认模板titlecase: false #自动将标题转换为小写social: #社交网络地址GitHub: https://github.com/Jason2031# Deployment## Docs: https://hexo.io/docs/deployment.htmldeploy:type: gitrepo: https://github.com/Jason2031/Jason2031.github.io.gitbranch: master接下来可以创建新的博文了,执行
1hexo new "hello"执行这行命令将在你的source/_post/文件夹下创建一个hello.md文件,在第二条三横线下编写正文即可。
如果需要在博文中使用图片,用传统的markdown语法”![]()”好像不行,这时回到项目根目录的_config.yml文件,找到post_asset_folder变量,将其设置为true即可,hexo将在下一次执行new指令时创建与页面同名的文件夹,在markdown里使用相对路径引用图片即可
比如你的_post/文件夹的结构如下
Lorem ipsum
├── dolor sit amet.jpg
├── consectetur adipisicing elit.jpg
└── sed do eiusmod.jpg
Lorem ipsum.md你想在Lorem ipsum.md中引用sed do eiusmod.jpg,在Lorem ipsum.md使用即可
发布博客
设置git身份信息
12git config --global user.name "你的用户名"git config --global user.email "你的邮箱"安装hexo-deployer-git插件
1npm install hexo-deployer-git --save发布更新博客
1hexo d -g发布时好像要输入账号密码,当你看到
1INFO Deploy done: git时,说明已经部署成功了,可以到相应的.github.io看看成果